Invite User Function
The Invite User function allows you to add multiple users to the photoSentinel Control Hub at once, requiring only their email addresses.
Invite User Function
The Invite User function allows you to add multiple users to the photoSentinel Control Hub at once, requiring only their email addresses. You can begin to assign permissions for installations or Access Groups to the invited users, from the moment the invite is sent.
Requirements
To use this feature, you will need:
- A user account on the photoSentinel Control Hub with Organisational ‘Manage User’ privileges, signed in to Control Hub (please note that Custom Domain logins don’t support this feature, and email invites will be sent from a photoSentinel-branded email address) Please see the Organisation article on the Knowledge Base for information on managing organisational permissions
- A correctly-formatted CSV file with the email addresses of the invitees
Preparing the CSV File for Upload
The CSV file formatting is very basic, needing only one column of data to work. The CSV will contain a heading of ‘email’ (without the quotes), followed down that column by the email addresses that you wish to send invite requests to. You can download a sample template from the Invite Users page, or by clicking here.
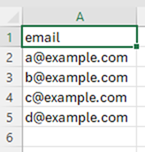
Once you have entered the desired email addresses to send the user invites to, save the file in CSV (UTF-8) format, ready to upload.
Uploading the CSV File
Navigate to the Management – Users tab on the photoSentinel Control Hub.
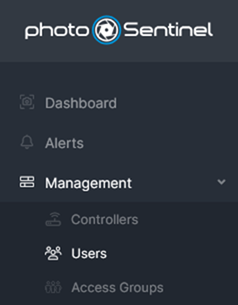
Click on the ‘Invite Users’ button at the top-right of the Users window.

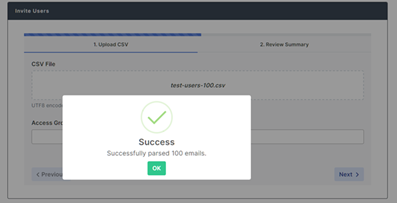
Upload the CSV file that you added the email addresses to in the earlier step, by dragging the file into the section marked ‘Drop file here to upload’ (or alternatively by clicking or tapping on the ‘Drop file here to upload’ section to bring up the file browsing window). If the file is valid, you should receive a green tick with a success message.
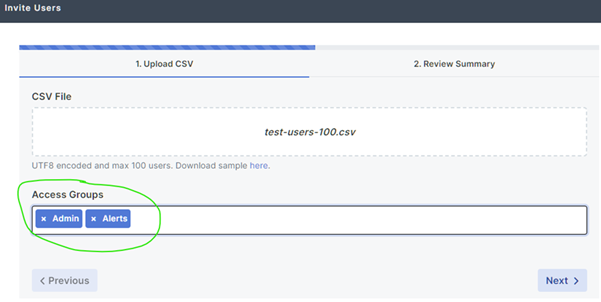
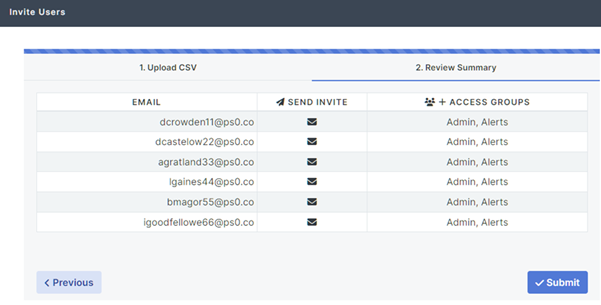
Choose the Access Groups (if desired) to add the users to and click on the ‘Next >’ button.
Review the entries found to ensure that they match your expectations, then click on the Submit button.
You should then see a ‘Submission Successful’ tick to say that the request has been received.
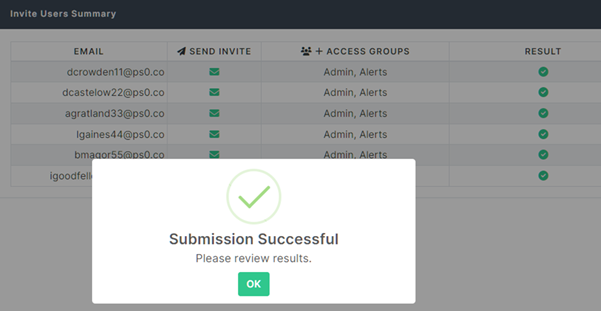
Click on the OK button and check the results to see which emails were sent.

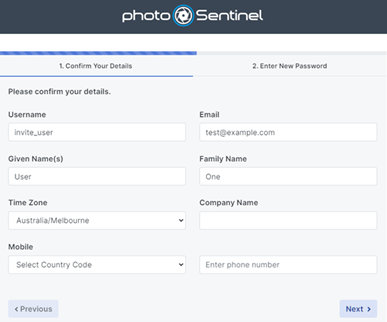
Once submitted, an email will be sent to the listed email addresses with links to finish creating their user accounts. At this point, the users will be asked to provide additional information, including:
- Username (pre-populated, required)
- Email (pre-populated, required)
- Given Name(s) (optional)
- Family Name (optional)
- Time Zone (required)
- Company Name (optional)
- Mobile (optional)
- Password (required)
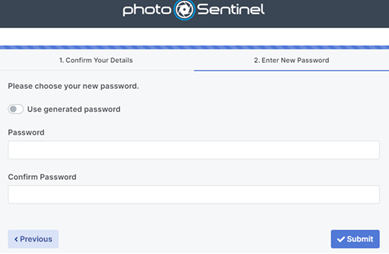
Once the user has completed the required fields and clicked on the ‘Submit’ button, they will be able to log in to Control Hub and view any galleries for which they have access to.