System Management FirmwareBeginner
How To Conclude an Installation
Complete the following steps to finish capturing photos and conclude an installation:
2 minutes readUpdated June 9, 2026
How To Conclude an Installation
Complete the following steps to finish capturing photos and conclude an installation:
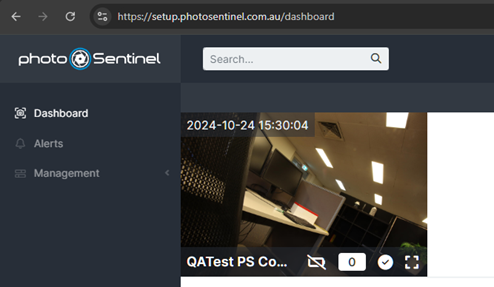
- Login to Control Hub.
- Select the installation to conclude from the Dashboard or via the search bar in the top left corner of the page.
- Navigate to the installation’s Gallery Settings - Lifecycle page.
- Click the Finish Capturing Photos button. This will redirect you to the installation’s Finish Capturing Photos page.
- The Finish Capturing Photos page will present you with several options for concluding the installation. Note that some options will terminate your Cloud Services plan, while others will let you continue (charges apply). Select the option which best suits your project needs.
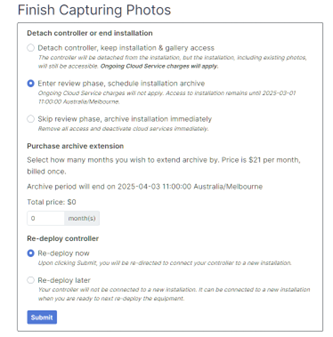
- (Optional) Purchase archive extension. Your installation’s photos are maintained in the cloud when the installation is in archive. After the archive period ends, the installation and its photos are permanently deleted.
You may choose to purchase an archive extension of one or more months if the following conditions are met:
- You have permission to manage billing in your organisation; and
- Your installation’s Cloud Service plan supports extended archive.

The price per month depends on the amount of storage used by the installation. Select the number of months by which you wish to extend archive. If you do not wish to purchase extended archive, simply leave the value as ‘0’.
- Select whether you wish to redeploy the installation’s controller to a new installation now or later.
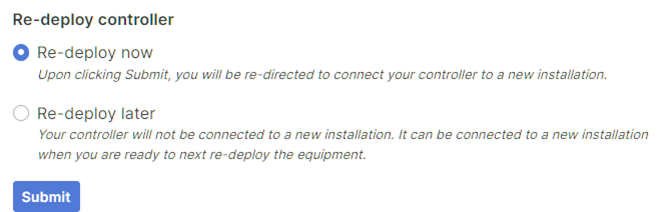
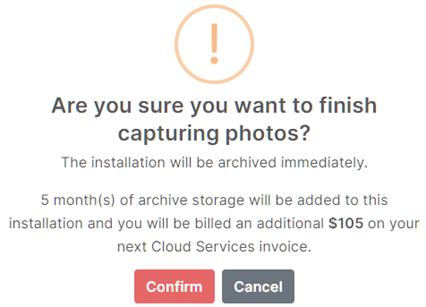
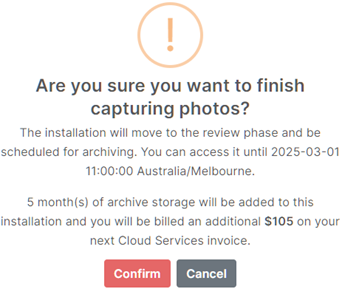
- Finally, click Submit. Read the confirmation message clearly, and if you are happy with your selections, click Confirm to conclude your installation.
Review Phase with Purchase Archive Extension
Archive Immediately with Purchase Archive Extension